Form 3 Platemaking
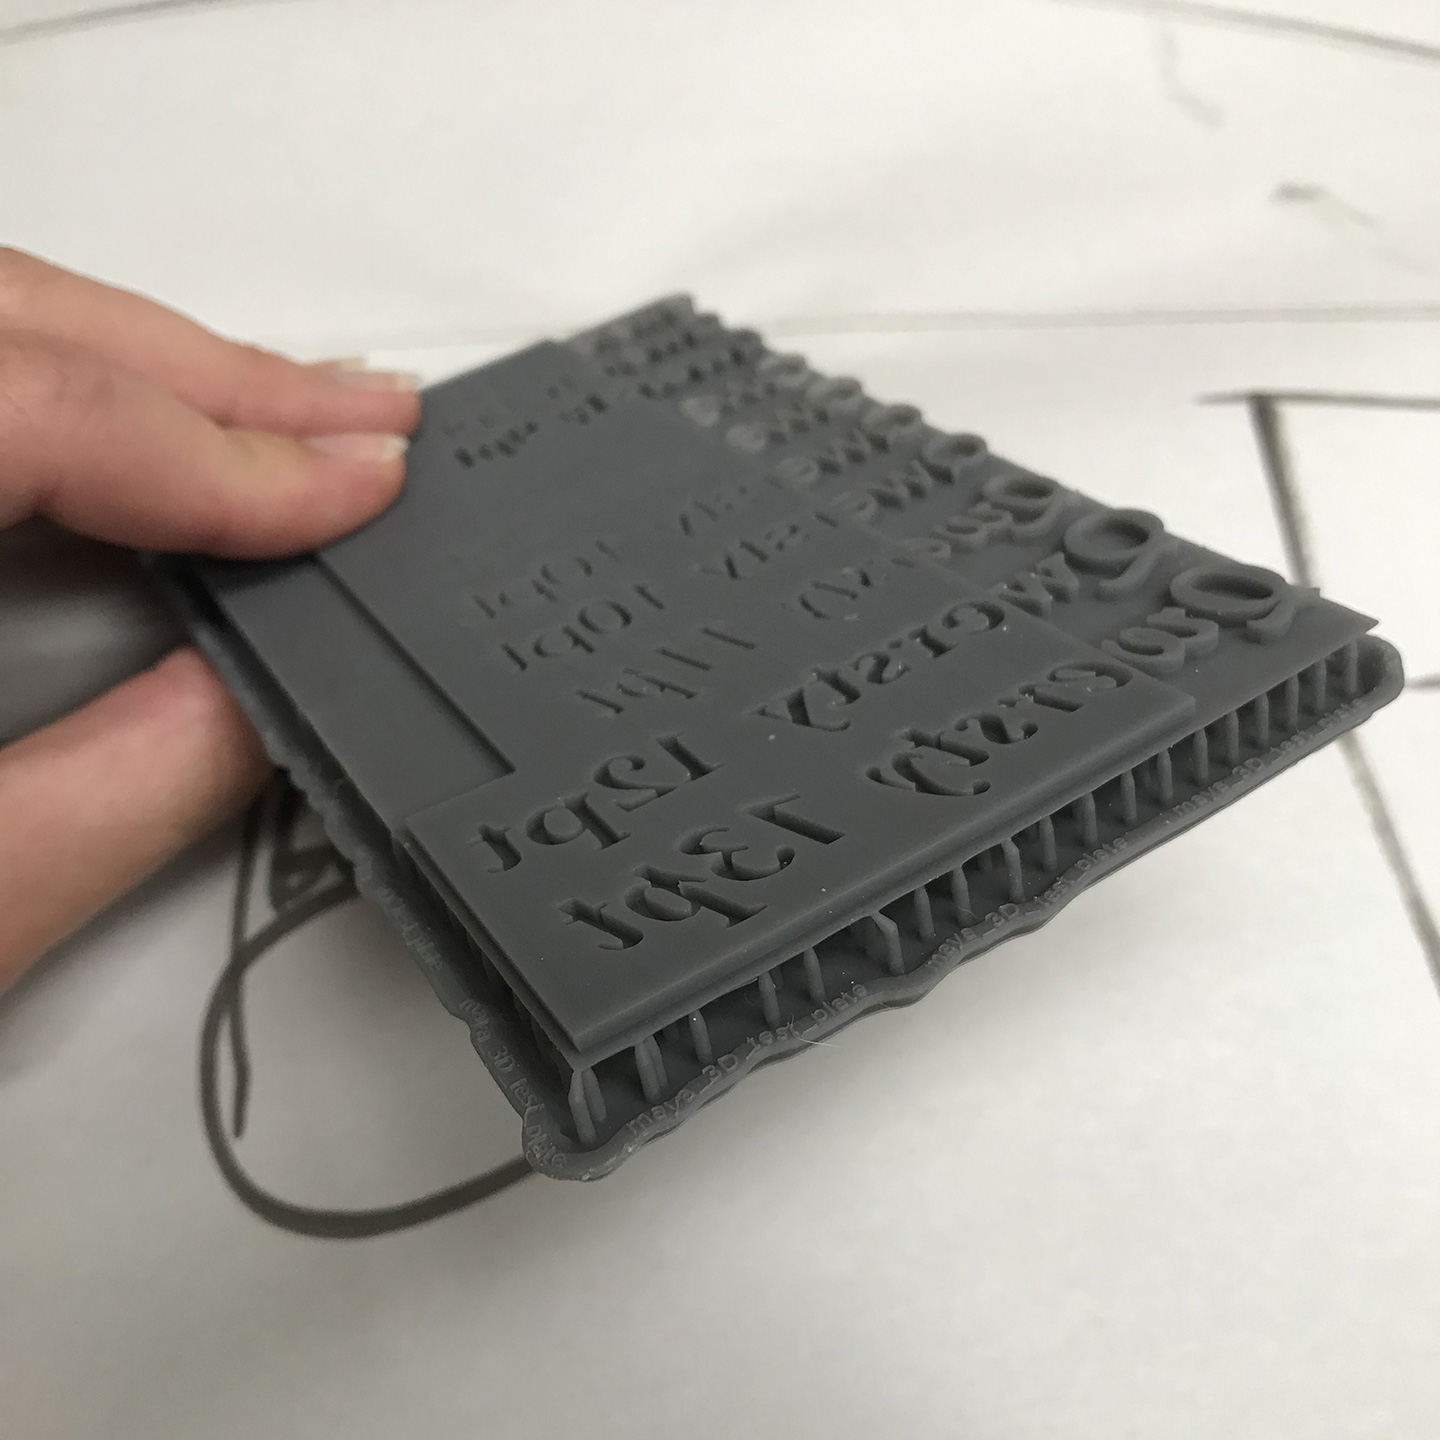
Recently, I’m experimenting with 3D printing plates for letterpress using a Form 3. Since 1 milliliter of Grey V4 Resin costs roughly $0.15, and a single business card–sized plate uses 2-3 milliliters, 3D printing could be a more cost-effective means of platemaking. I am currently using Illustrator to draw the vectors, then extruding them in Maya. My experimentation is based on trying to determine the finest detail a Form 3 3D Printer is able to print and also its print accuracy. Here are my findings thus far!
Plate Prep
Illustrator
1. Draw your vectors. Make sure to expand strokes and type.
2. Break the artwork into distinct layers on different artboards depending on extrusion depths. Make sure to include a plate base.
3. Export as .EPS and choose Version Illustrator 8.
Maya
1. Import each .EPS separately
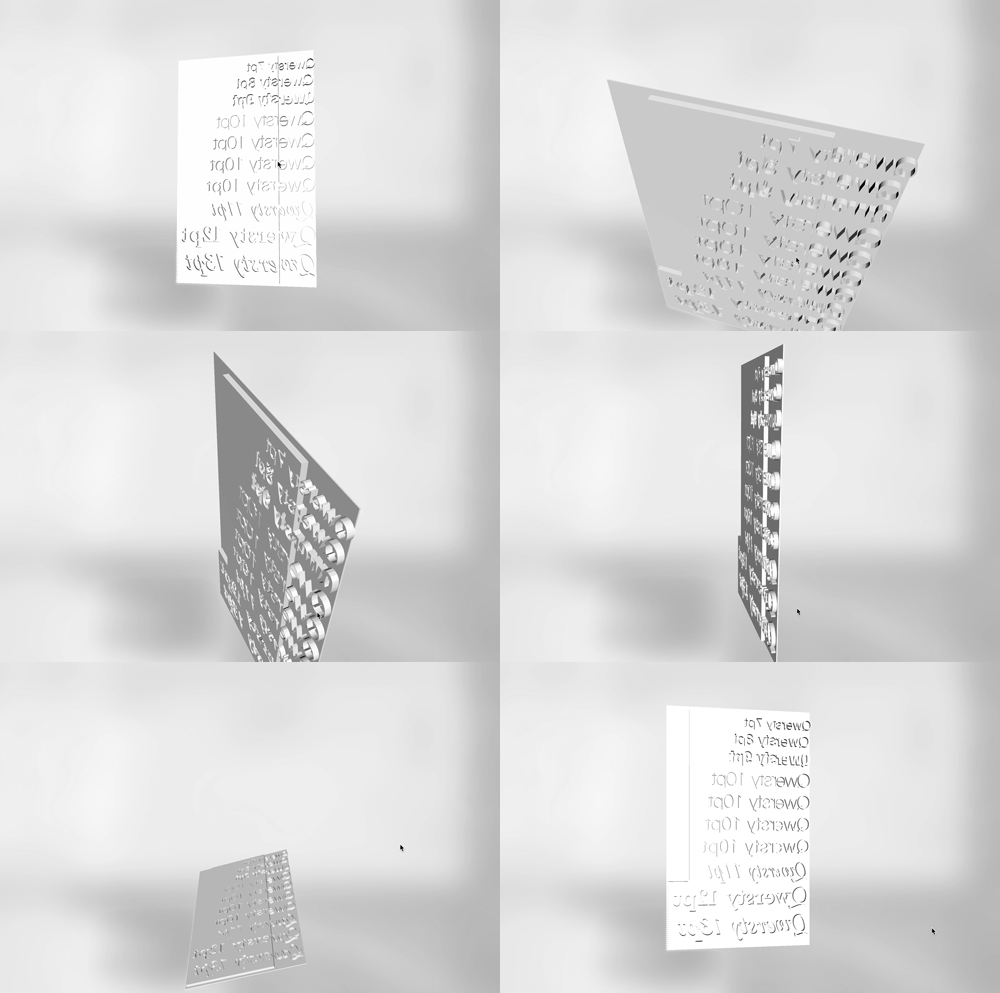
2. Rotate X 90 degrees
3. Modify —> Center Pivot
4. Select one at a time, Surfaces —> Planar (click box to right)
5. Dialog Box: Cubic, Complete, Polygons, Quads, Count, Count: 1 (smallest detail)
6. Edit Mesh —> Extrude: Determine the thickness you want
7. Hold “V” to snap your forms together
8. Select All PlanarSurface layers and click Mesh —> Combine
9. Select your combined form, File —> Export Selection
10. OBJ (if this is not an option, go to Windows —> Settings/Preferences —> Plugin Manager, search for objExport.mll, check Load and AutoLoad —> Refresh) You may have to restart the program.
PreForm
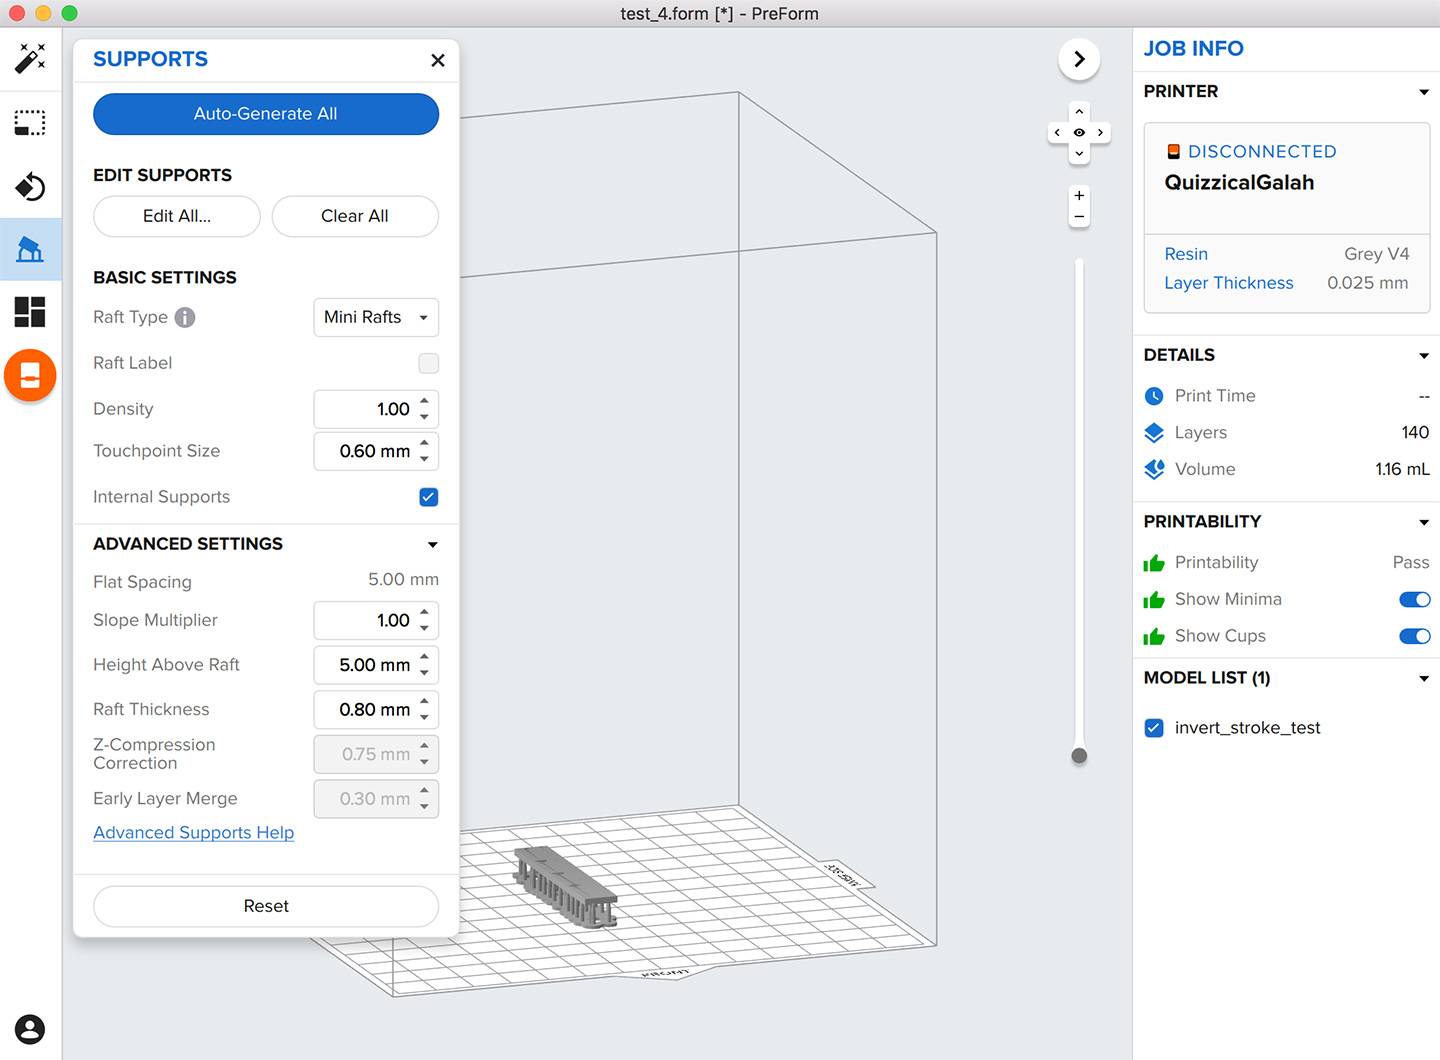
* Will (X and Y) scale your model. You need to make the Depth (Z) 3X taller. So if it’s .06” for a letterpress plate, make it .18”. Do this in Maya before you bring it into PreForm.
1. Resin: Grey V4
Thickness: .025mm (hi-res)
2. File —> Open. Choose Inches + Repair.
3. Size. Make sure Scale: 0.358. And the dimensions look correct.
4. Rotate it so that your imagery is facing up. Do NOT use freehand Rotation, click the 90 degree buttons.
5. Supports. Type: Mini Raft, Raft Thickness: 1 mm, Auto Generate
6. File —> Print
Fabricate
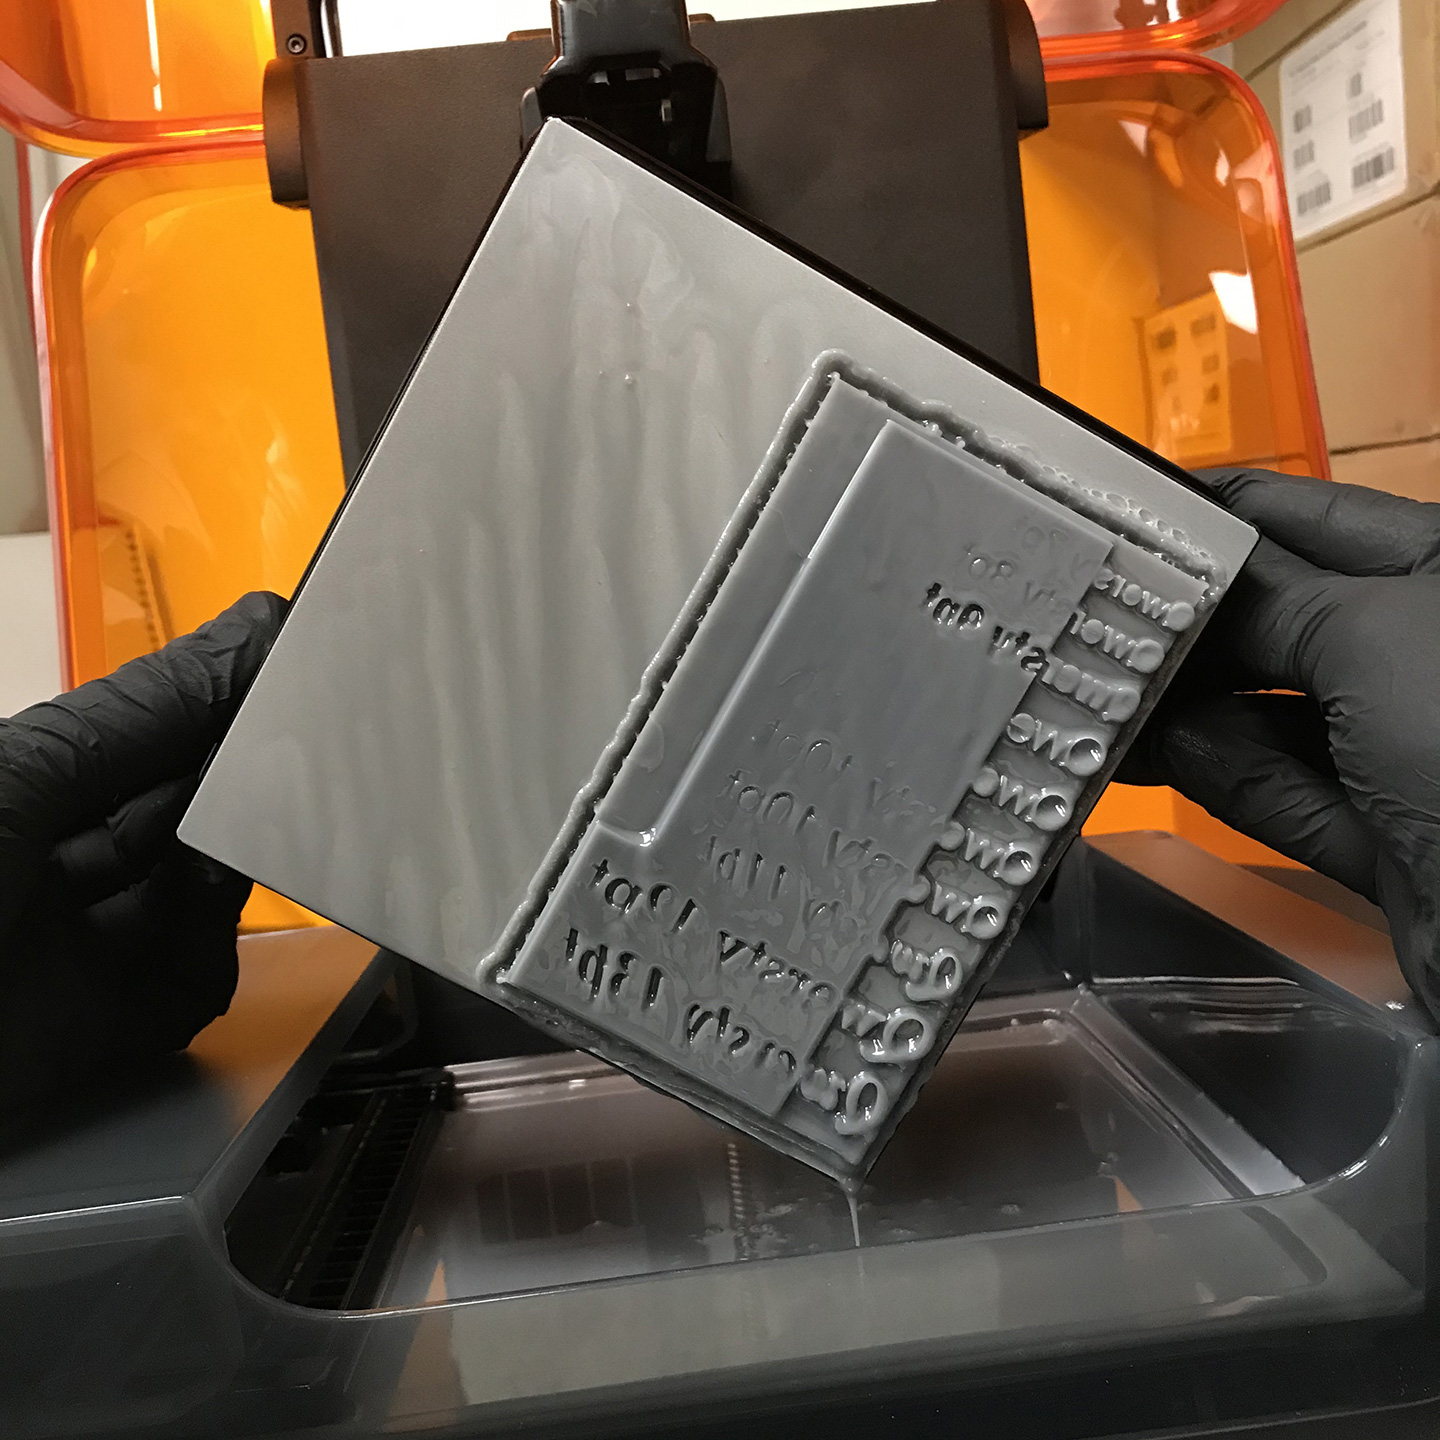
1. Print: Depends on the form size (2 ml plate ~45 min)
2. Alcohol Bath: 20 min
3. UV Bake: 1 hr
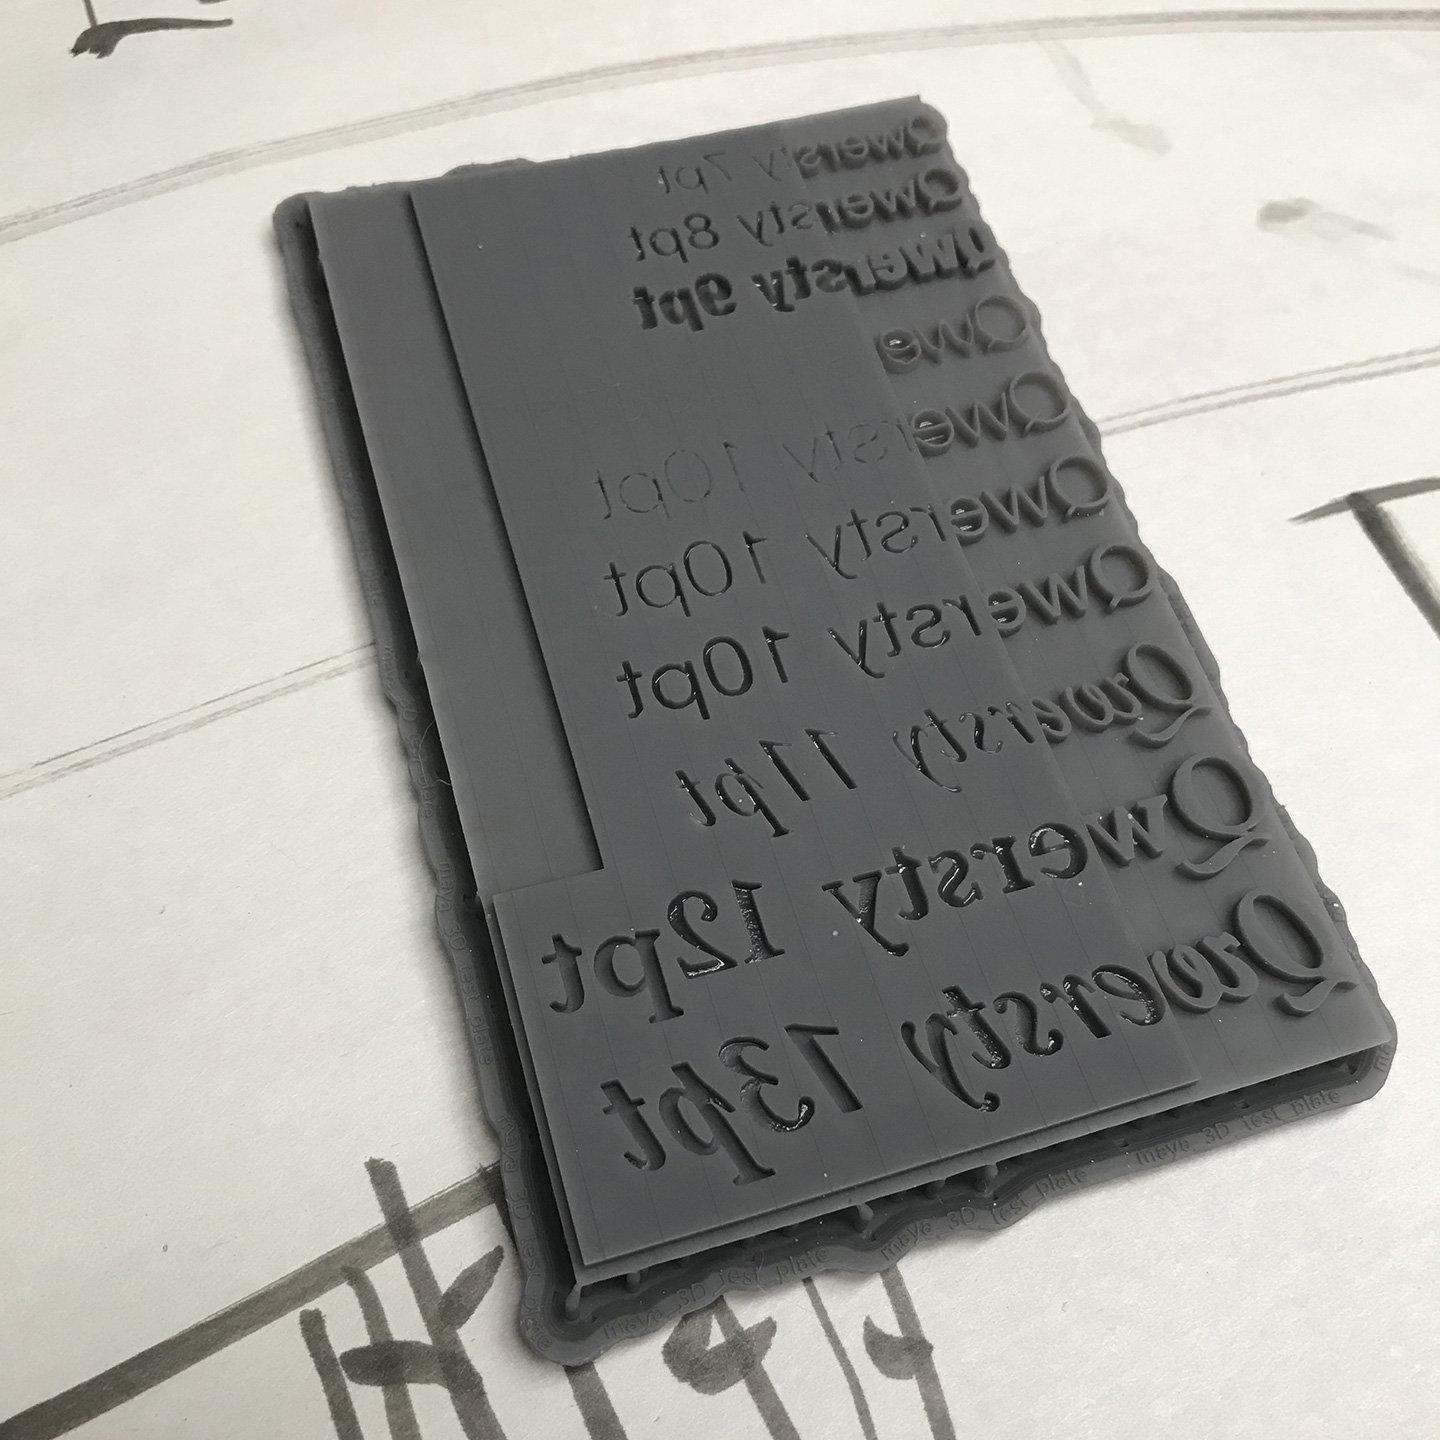
Test Plate A: Typographic
OBJ Dimensions
Total Plate Height: .09”
Dimensions: 3.04” x 4.97” x .09”
Actual Dimensions
Total Plate Height: .1”
Problems
1. Learned that PreForm scaled it 3X as big.
2. The raft is overkill.
3. Negative strokes too shallow
4. Positive Strokes were too tall and started getting wobbly/warped.
5. Plate back is very brittle.
6. Stair steppy surface, possible due to lower res print or that the object was rotated by hand and not perfectly square.
7. So the depth accuracy is off by ~.01” in the depth or height of the form (.09” vs .1”)
Adjustments
—Account for the scaling in Maya
—Vary the thickness of the polymer height
—Deeper cut for thinner lines in Maya
—Filleting the extruded parts in Maya
—Experiment with different stroke weights
—Try different kinds of resins
Ask Form Labs
—Do you have a durometer/hardness scale for Resin Grey V4?
—Do you have plugins to solve for artwork working for this automatically?
—Guidance on how to print detailed imagery accurately.
Ideas
—What is the future of additive platemaking for letterpress?
—Print can be double sided
—Different levels of impression (like a quarter) so shadows can build the form using different depths
—Texturing possibilities expand, don’t have to do halftone to make a texture (Zbrush)
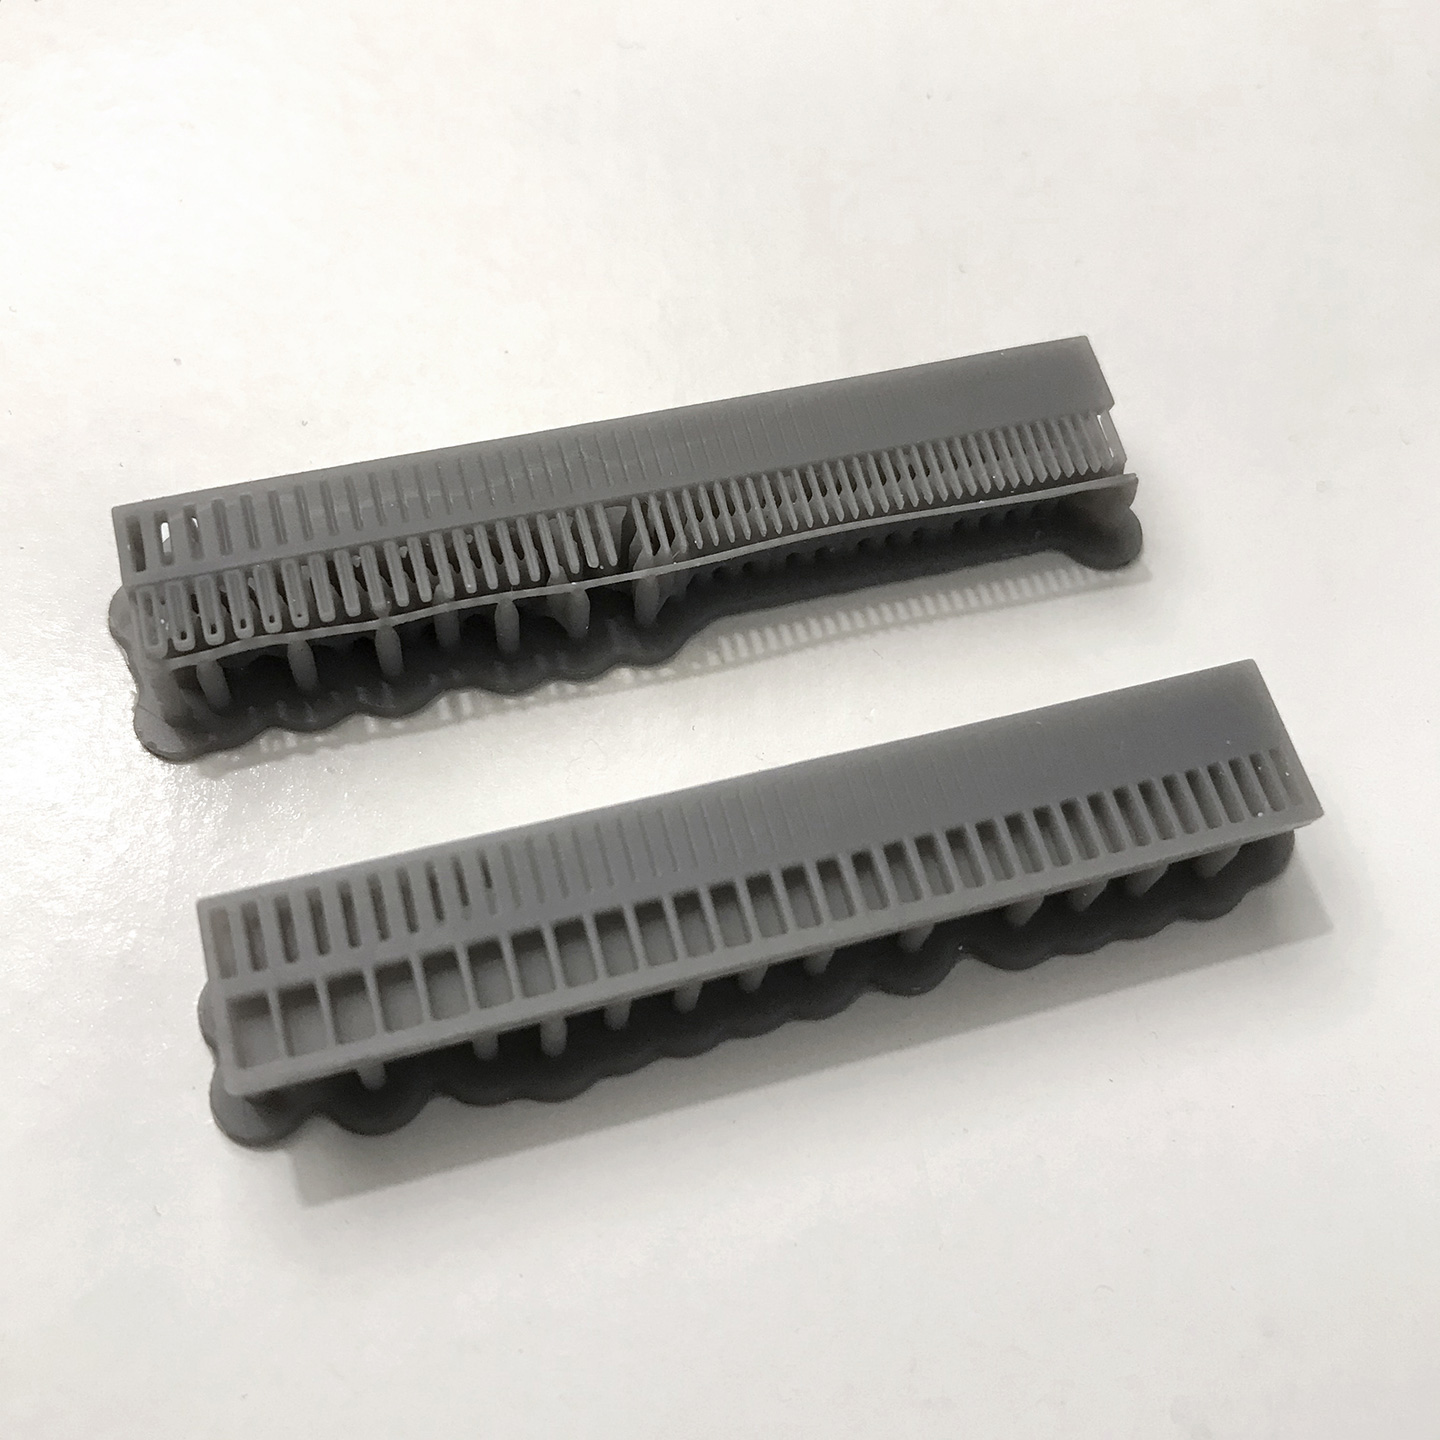
Test Plate B: Strokes +/-
OBJ Dimensions
Total Plate Height: .06” (Scaled to: .18” in Maya; Preform Scales back to .06”)
Polymer Height: .03” (half)
Backing: .03”
Dimensions: 2.04” x .34” x .06”
Actual Dimensions
Plate height varies, some of the backing even disappears.
Problems
1. First I printed the plate without a boat. It did not print at all. On my second attempt, I selected “Mini Boat,” using the smallest amount of resin and it printed. It’s a little difficult to get off, but use a metal spatula and apply a lot of pressure at the base.
2. The backing completely disappeared on the positive raised forms. I think this is why some of the insides of the strokes also caved in and fell out. I think that the solution is a wider base. I can’t really decrease the height of the strokes to accommodate a thicker backing, so I think the solution is to increase the total plate height and decrease the press packing.
3. The negative strokes are barely carved out. Plate C is an experiment with deeper negative stroke groves.
4. The thinner positive stroke weights all look the same.
Test Plate C: Strokes –
OBJ Dimensions
Total Plate Height: .06” (Scaled to: .18” in Maya; Preform Scales back to .06”)
Polymer Height: .05” (83%),
Backing: .01”
Dimensions: 2.04” x .34” x .06”
Actual Dimensions
Total Plate Height: .0865”
Problems
1. The depth accuracy is off by ~.025″ in the depth or height of the form.
2. Stroke weights lower than 1.3 fill in.
Resources
DIY Hot Foil Stamping
Case Study 1: Iron Chase
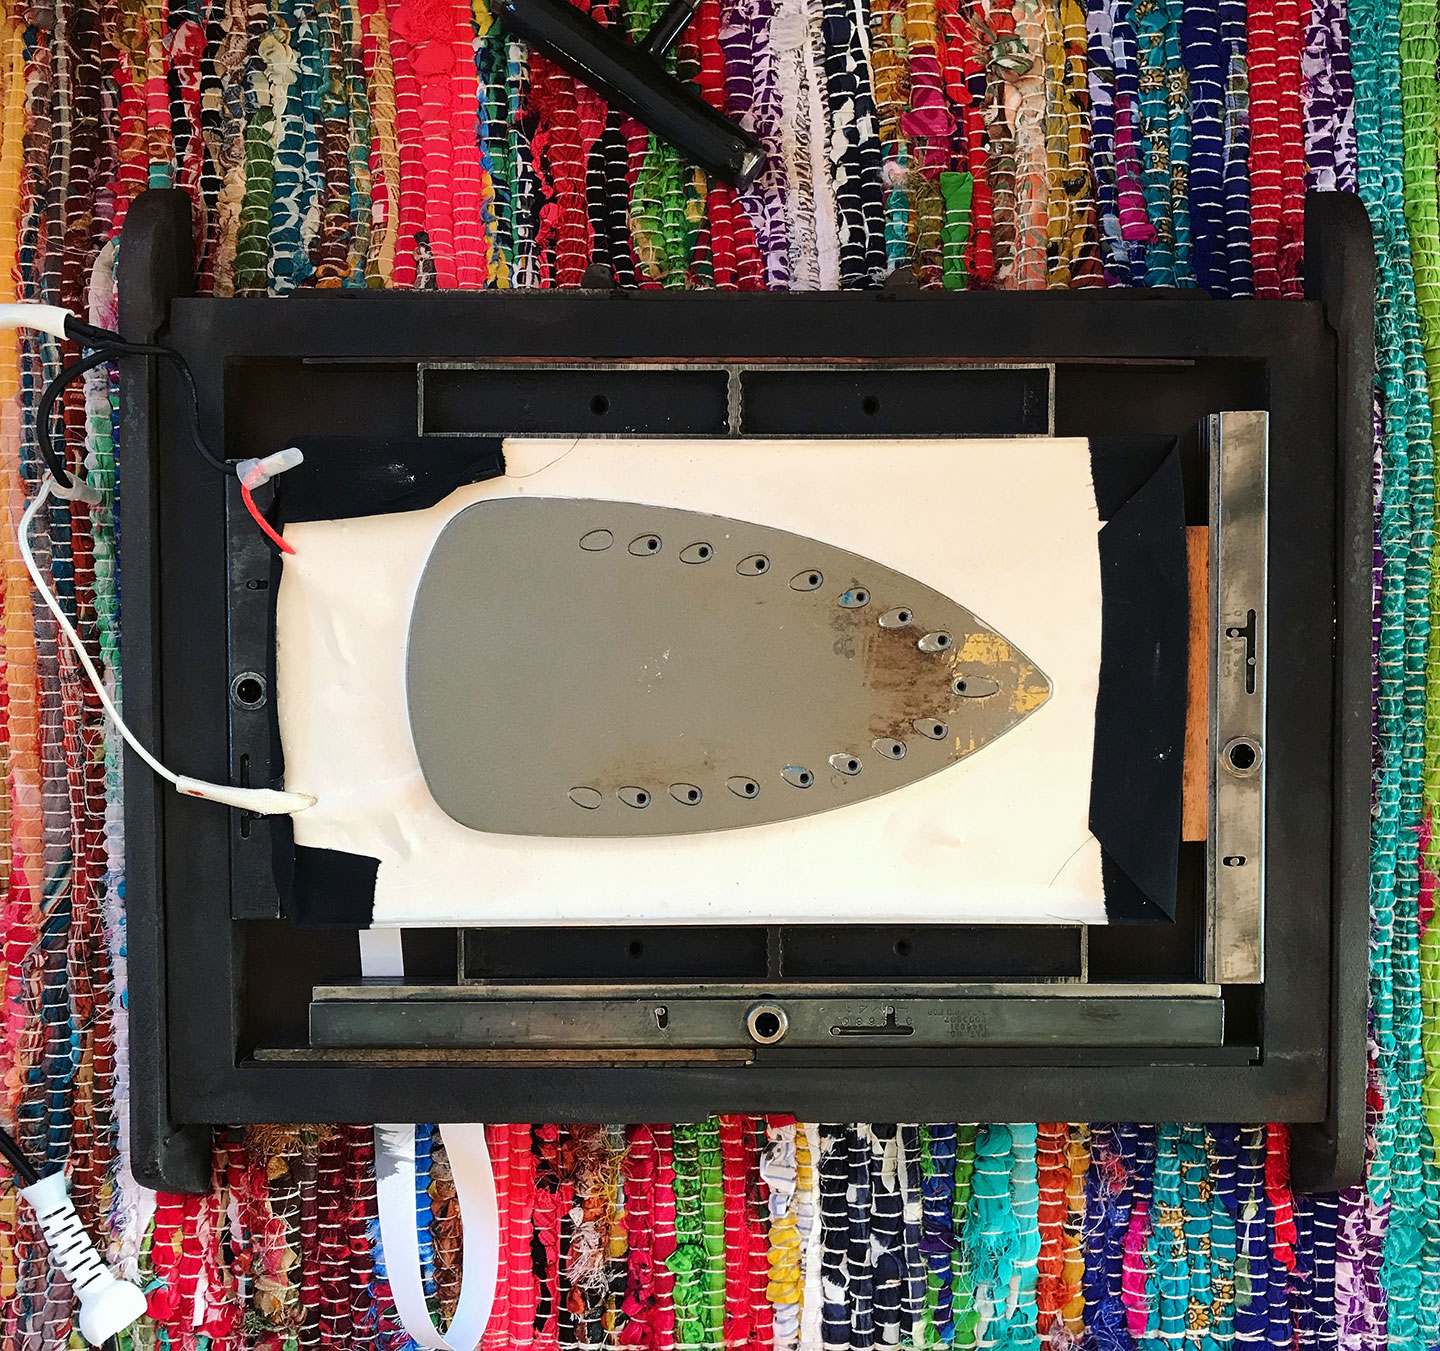
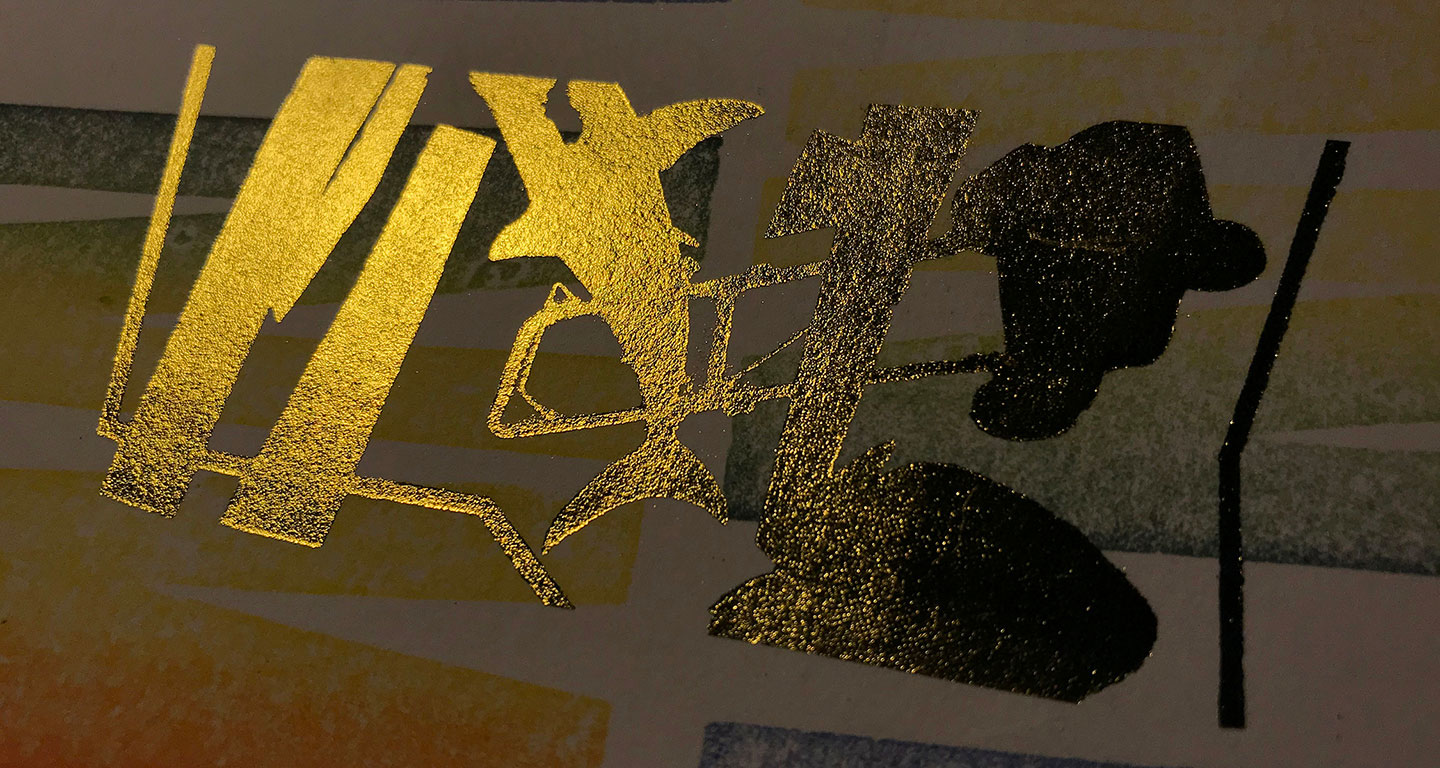
Hot foil stamping is difficult for a letterpress printer to establish. The stand-alone machines are often limiting and expensive. It can be hard to break tradition when vintage Kingsleys look so cool and AAMstamp dominates the field. But with deterrents like A) The $1,500+ price tag for a new machine, and B) The restricted set of fonts and small 1″ X 2″ image area, Chris and I were determined to find an alternative solution. Heat chases make more sense, and are made to work with old style platen and cylinder presses. However they require metal or metal-backed plates, which are also costly. That’s why we experimented with making something similar to work with the supplies and equipment we already had: a tabletop platen press and photopolymer plates.
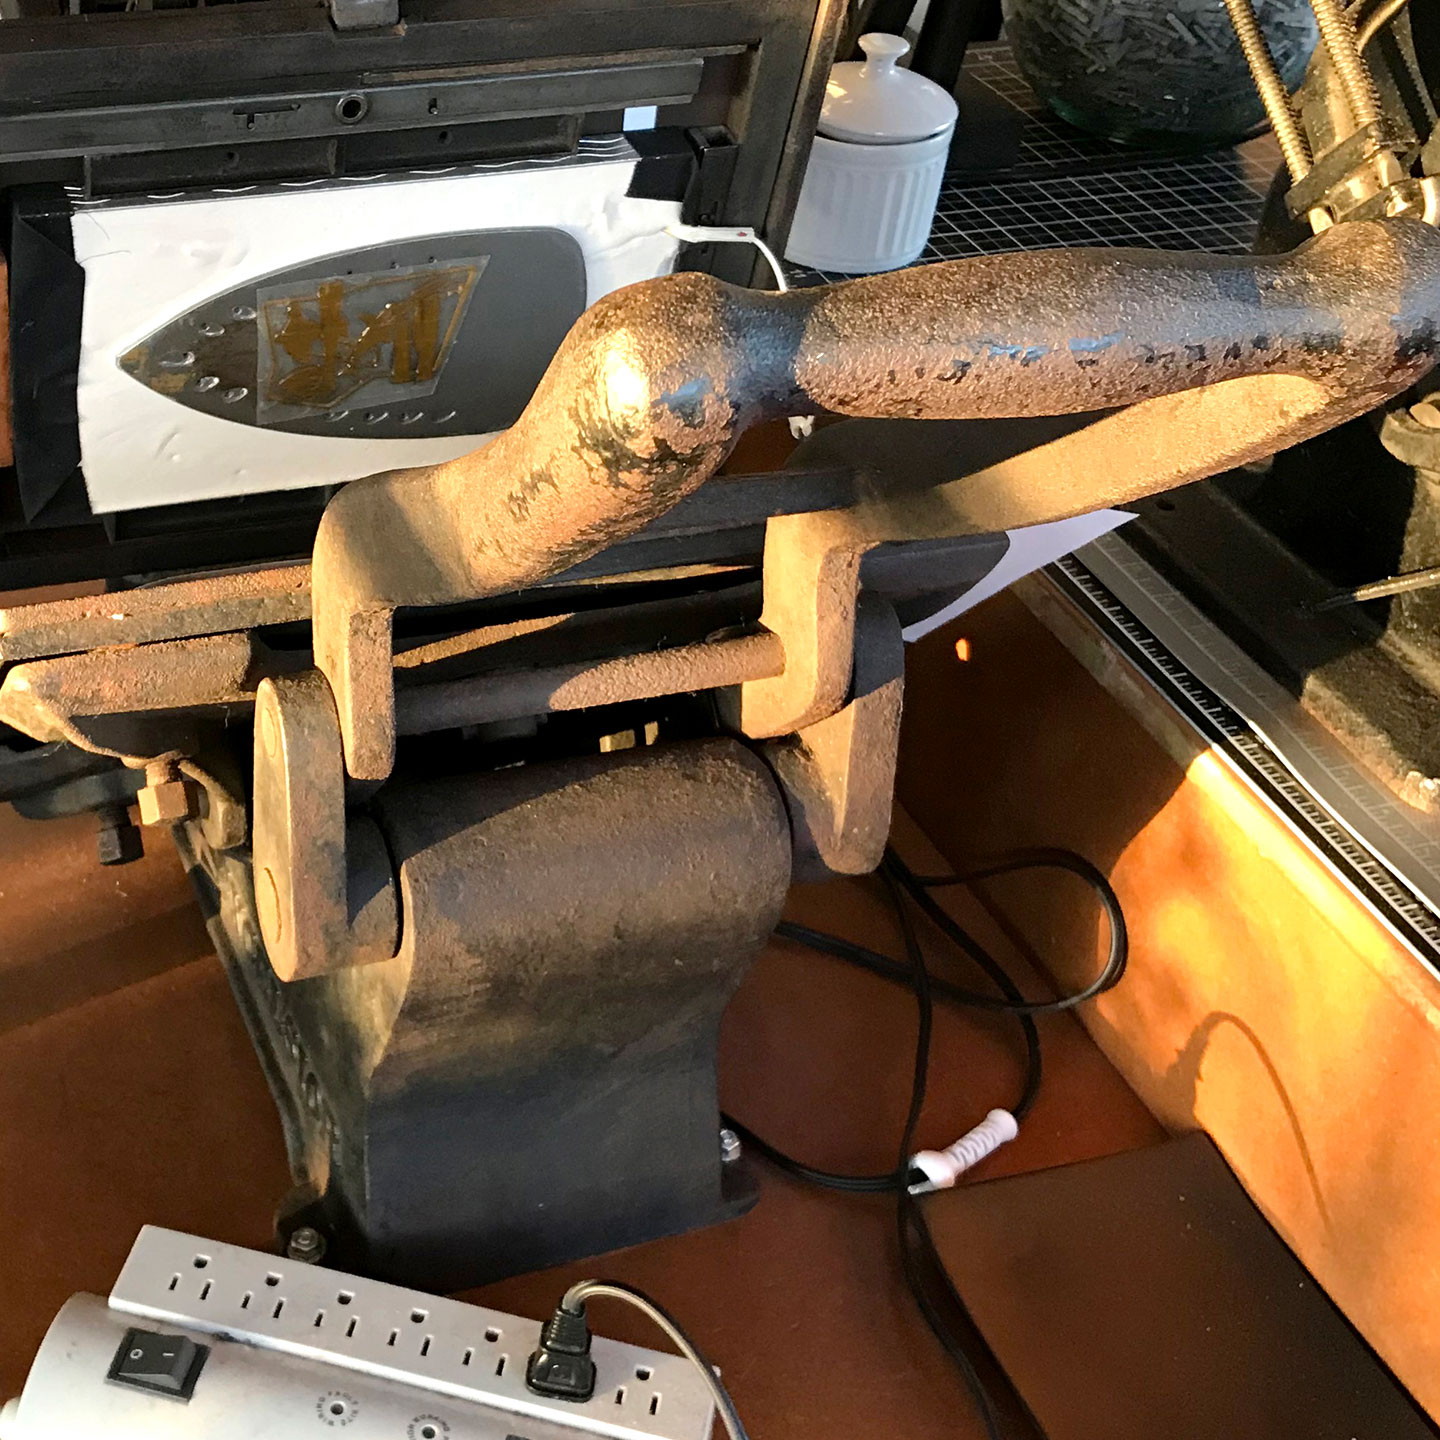
Our first prototype consisted of locking up a deconstructed garment-iron set to type-high .918″. The “iron chase” was filled with Plaster of Paris so that the heat would diffuse and not damage the press. We stuck the photopolymer plate directly onto the iron. Because we removed the iron’s temperature controller, we regulated the heat by plugging and unplugging the iron. Sandwiching the foil between the photopolymer plate and the Crane Lettra paper, we tested a range of temperatures and times.
We found our best results with shorter clamping times and a high amount of heat, estimate: 300° for 7 seconds. The photopolymer plate was unaffected by short bursts of heat. When the foil was heated for too long, the edges of the printed image bled and were not crisp. When there wasn’t enough heat, the foil did not completely offset and patches of foil easily flaked off. Although, with high amounts of heat we also found that the backing-tape on the photopolymer plate melted. In a second run of this experiment we purchased 3M 9485PC Glue on a Roll and this was able to withstand the heat.
Next, we are planning to make a heat chase using a 3D printer aluminum or silicon heat bed…
Resources
Laser Engraved Plates
Case Study 1: HDF and Acrylic
With Crane Lettra paper and Van Son ink costing $.07 per business card, letterpress supplies are highly affordable, with the exception of photopolymer plates. I currently do not have the capability of producing my own plates, so I outsource the job to Boxcar Press and Concord Engraving. However, photopolymer materials are not cheap. I am keen on becoming self-sufficient and economical for all aspects of the letterpress process, and platemaking is an aspect of my setup that desperately needs improvement.
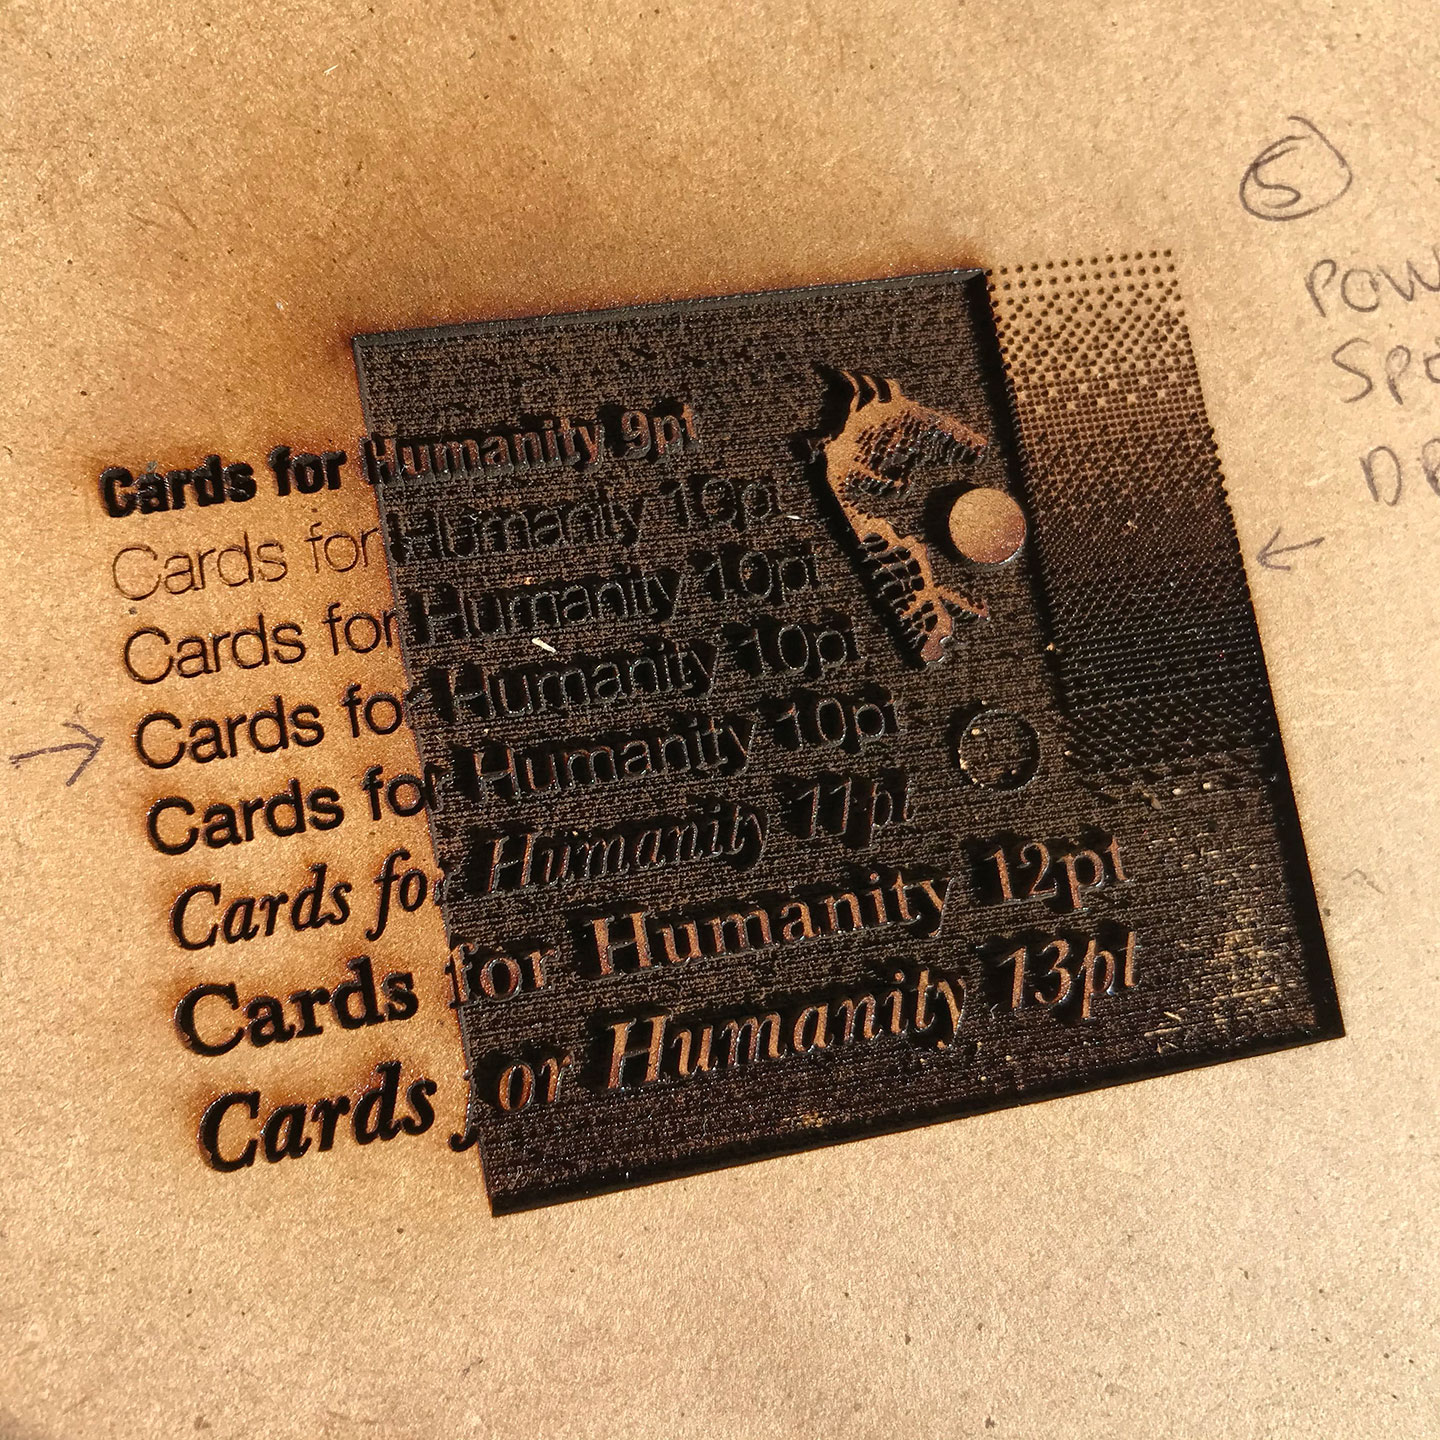
Therefore, Chris and I have been experimenting with alternative methods of platemaking that allow us the ability to produce our own affordable plates. At the Tampa Hackerspace, we were successful in operating their Universal M360 80W laser-engraving/cutting machine to manufacture finely detailed plates using cheaper substrates, such as wood, MDF, and plastic. The fiber-grained plates also created more visually appealing prints with unique textures, which is not possible with photopolymer. I learned that at 60% power and 30% speed at 500 DPI on HDF (high density MDF), I could raster engrave Helvetica Roman 10pt type. Fonts that were lighter or smaller than that burned away. Lower-powered settings didn’t engrave the HDF deep enough. And higher-powered settings burned off too much of the design. Acrylic plastic had a similar response to these settings, melting in lieu of burning. Since I was only using half of the machine’s power, I also learned that a lower-wattage desktop engraver would have enough power for the job.
CO2 laser engraving has drastically improved over the past decade with affordable 40–50W 110V lasers capable of cutting deeper lines on a variety of substrates with controlled precision. These improvements have enabled high quality desktop machines for prosumer costs. Prices depend upon the machine’s wattage and size of the engraving area. Higher wattage laser engravers are capable of deeper and more precise cuts. This is critical to making intricate designs that have small type. They can also cut faster and work with a wider variety of materials, including wood, plexiglass, crystal, leather, rubber, marble, glass, etc.
Next, I will print the plates to see what substrate works best and refine my understanding of the design limitations…
Resources
